Lemon Raspberry Layered Cake

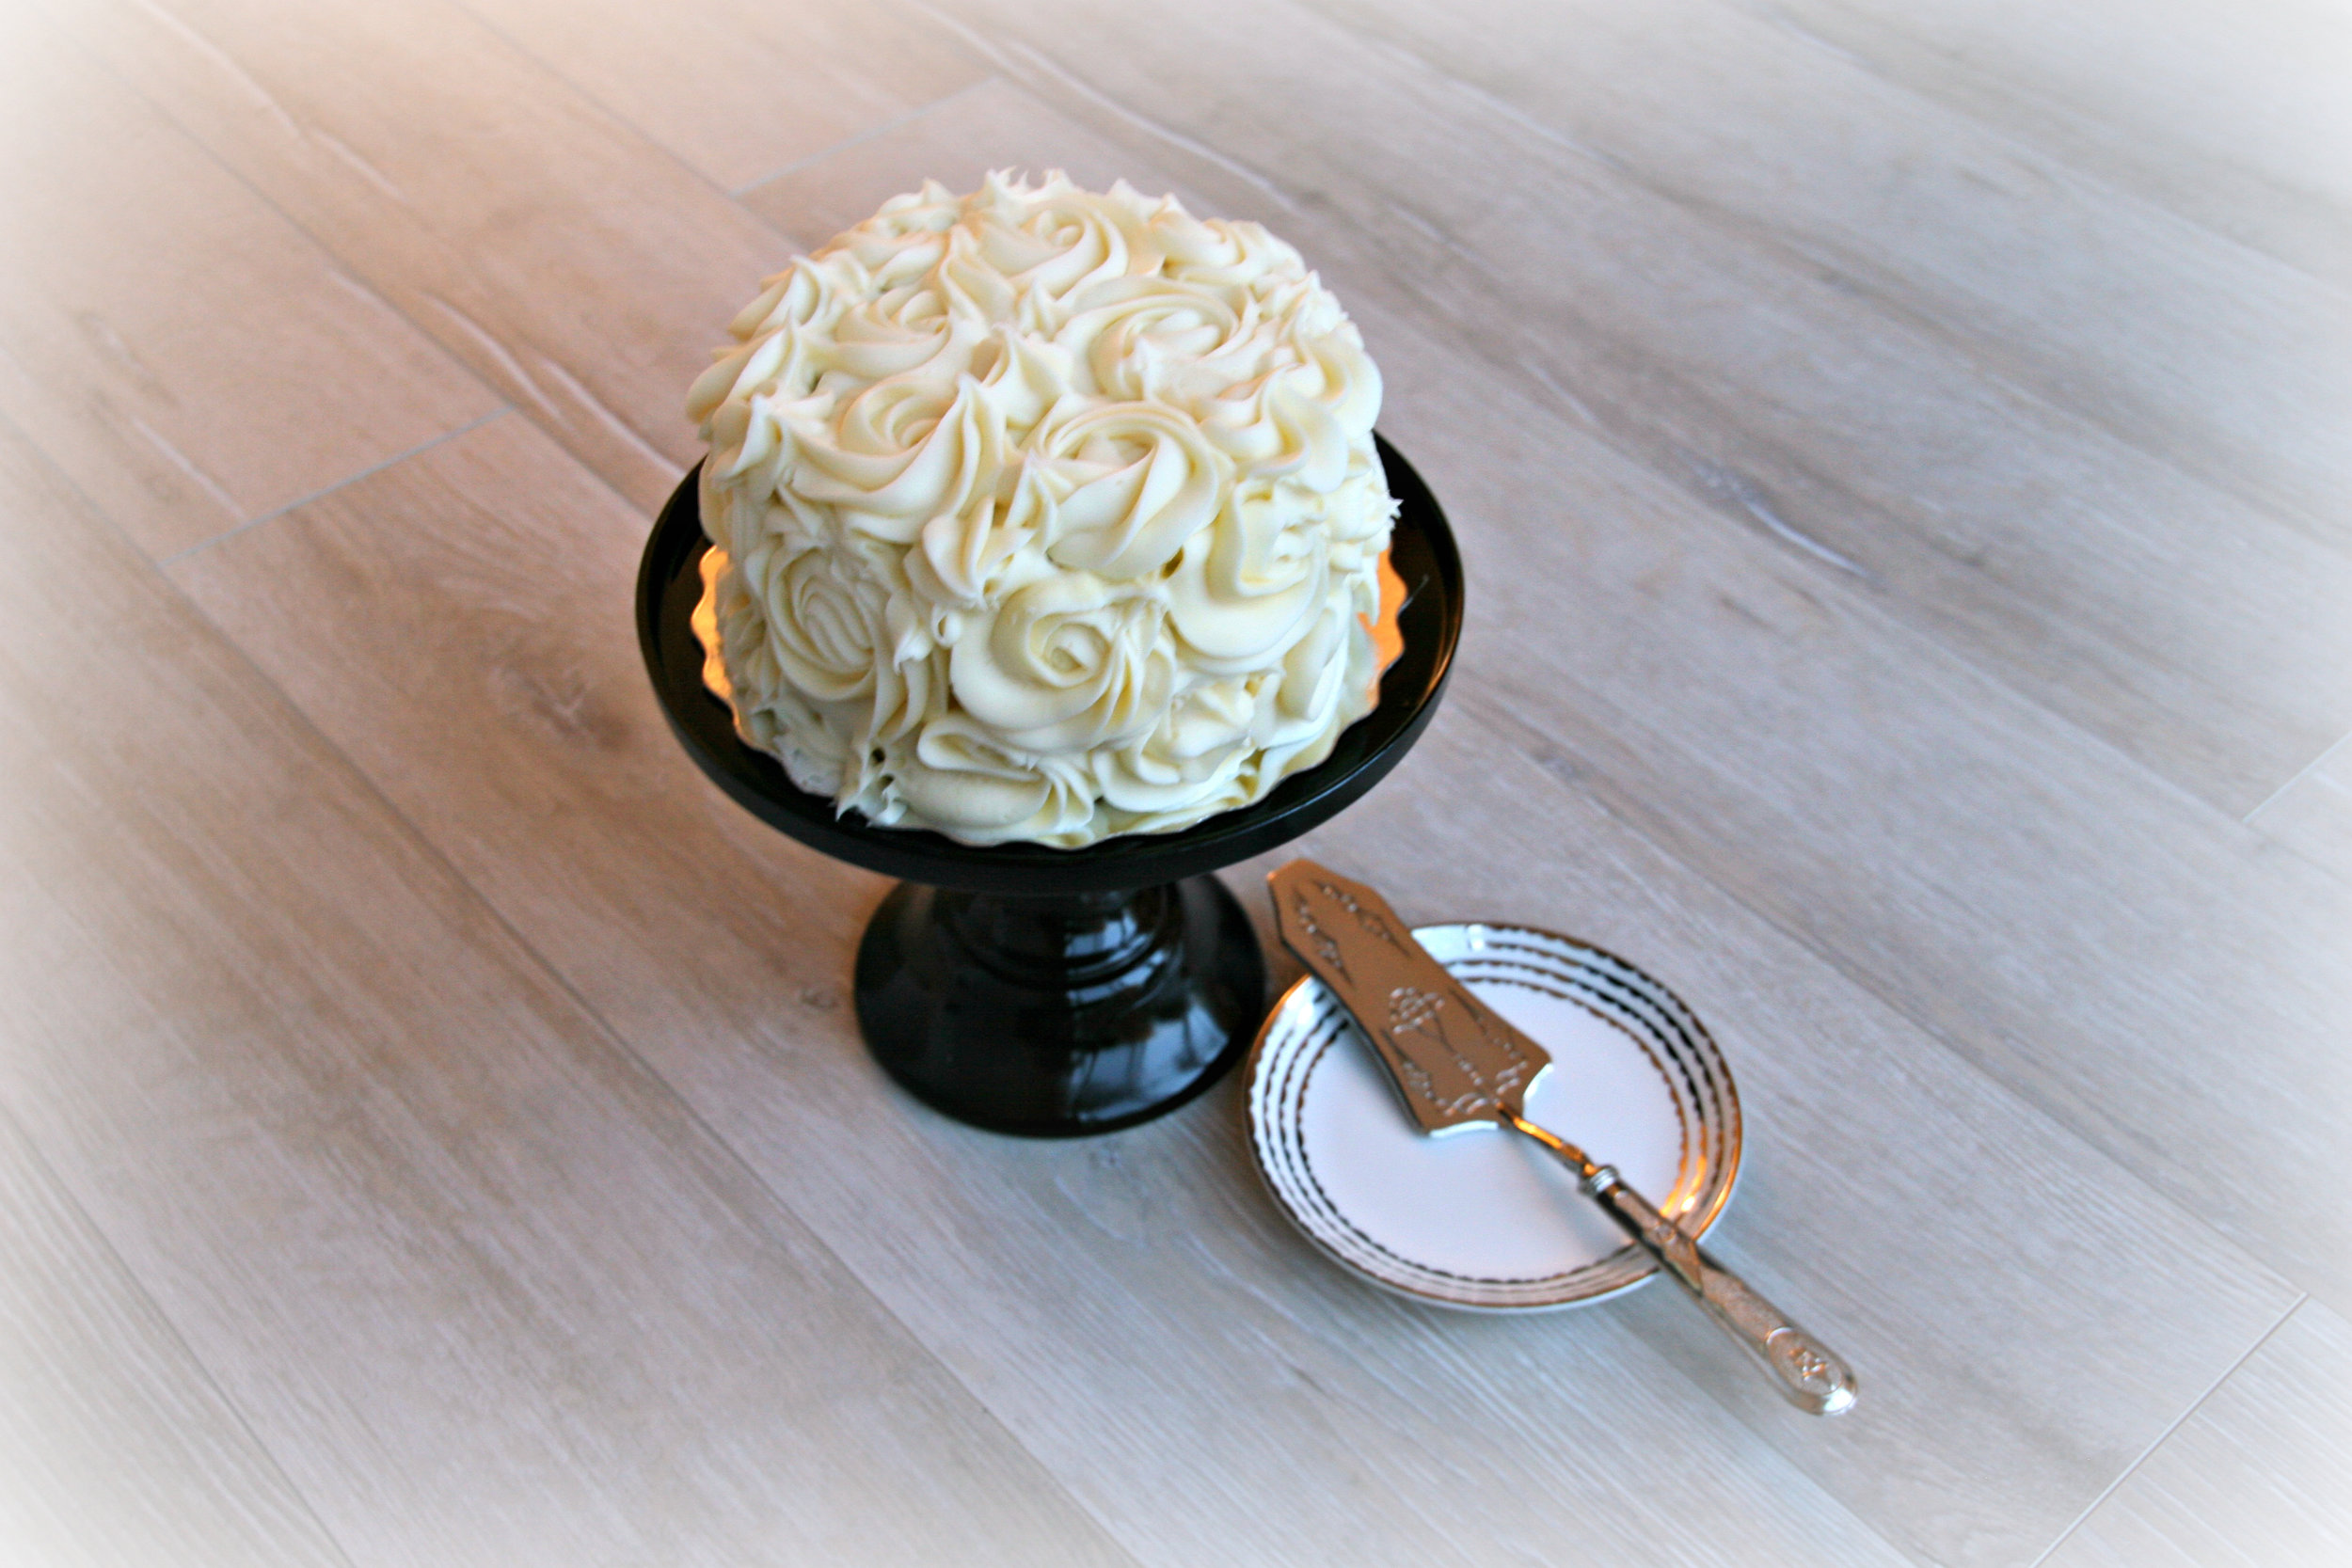
Brighten your day with this cheery lemon raspberry layered cake
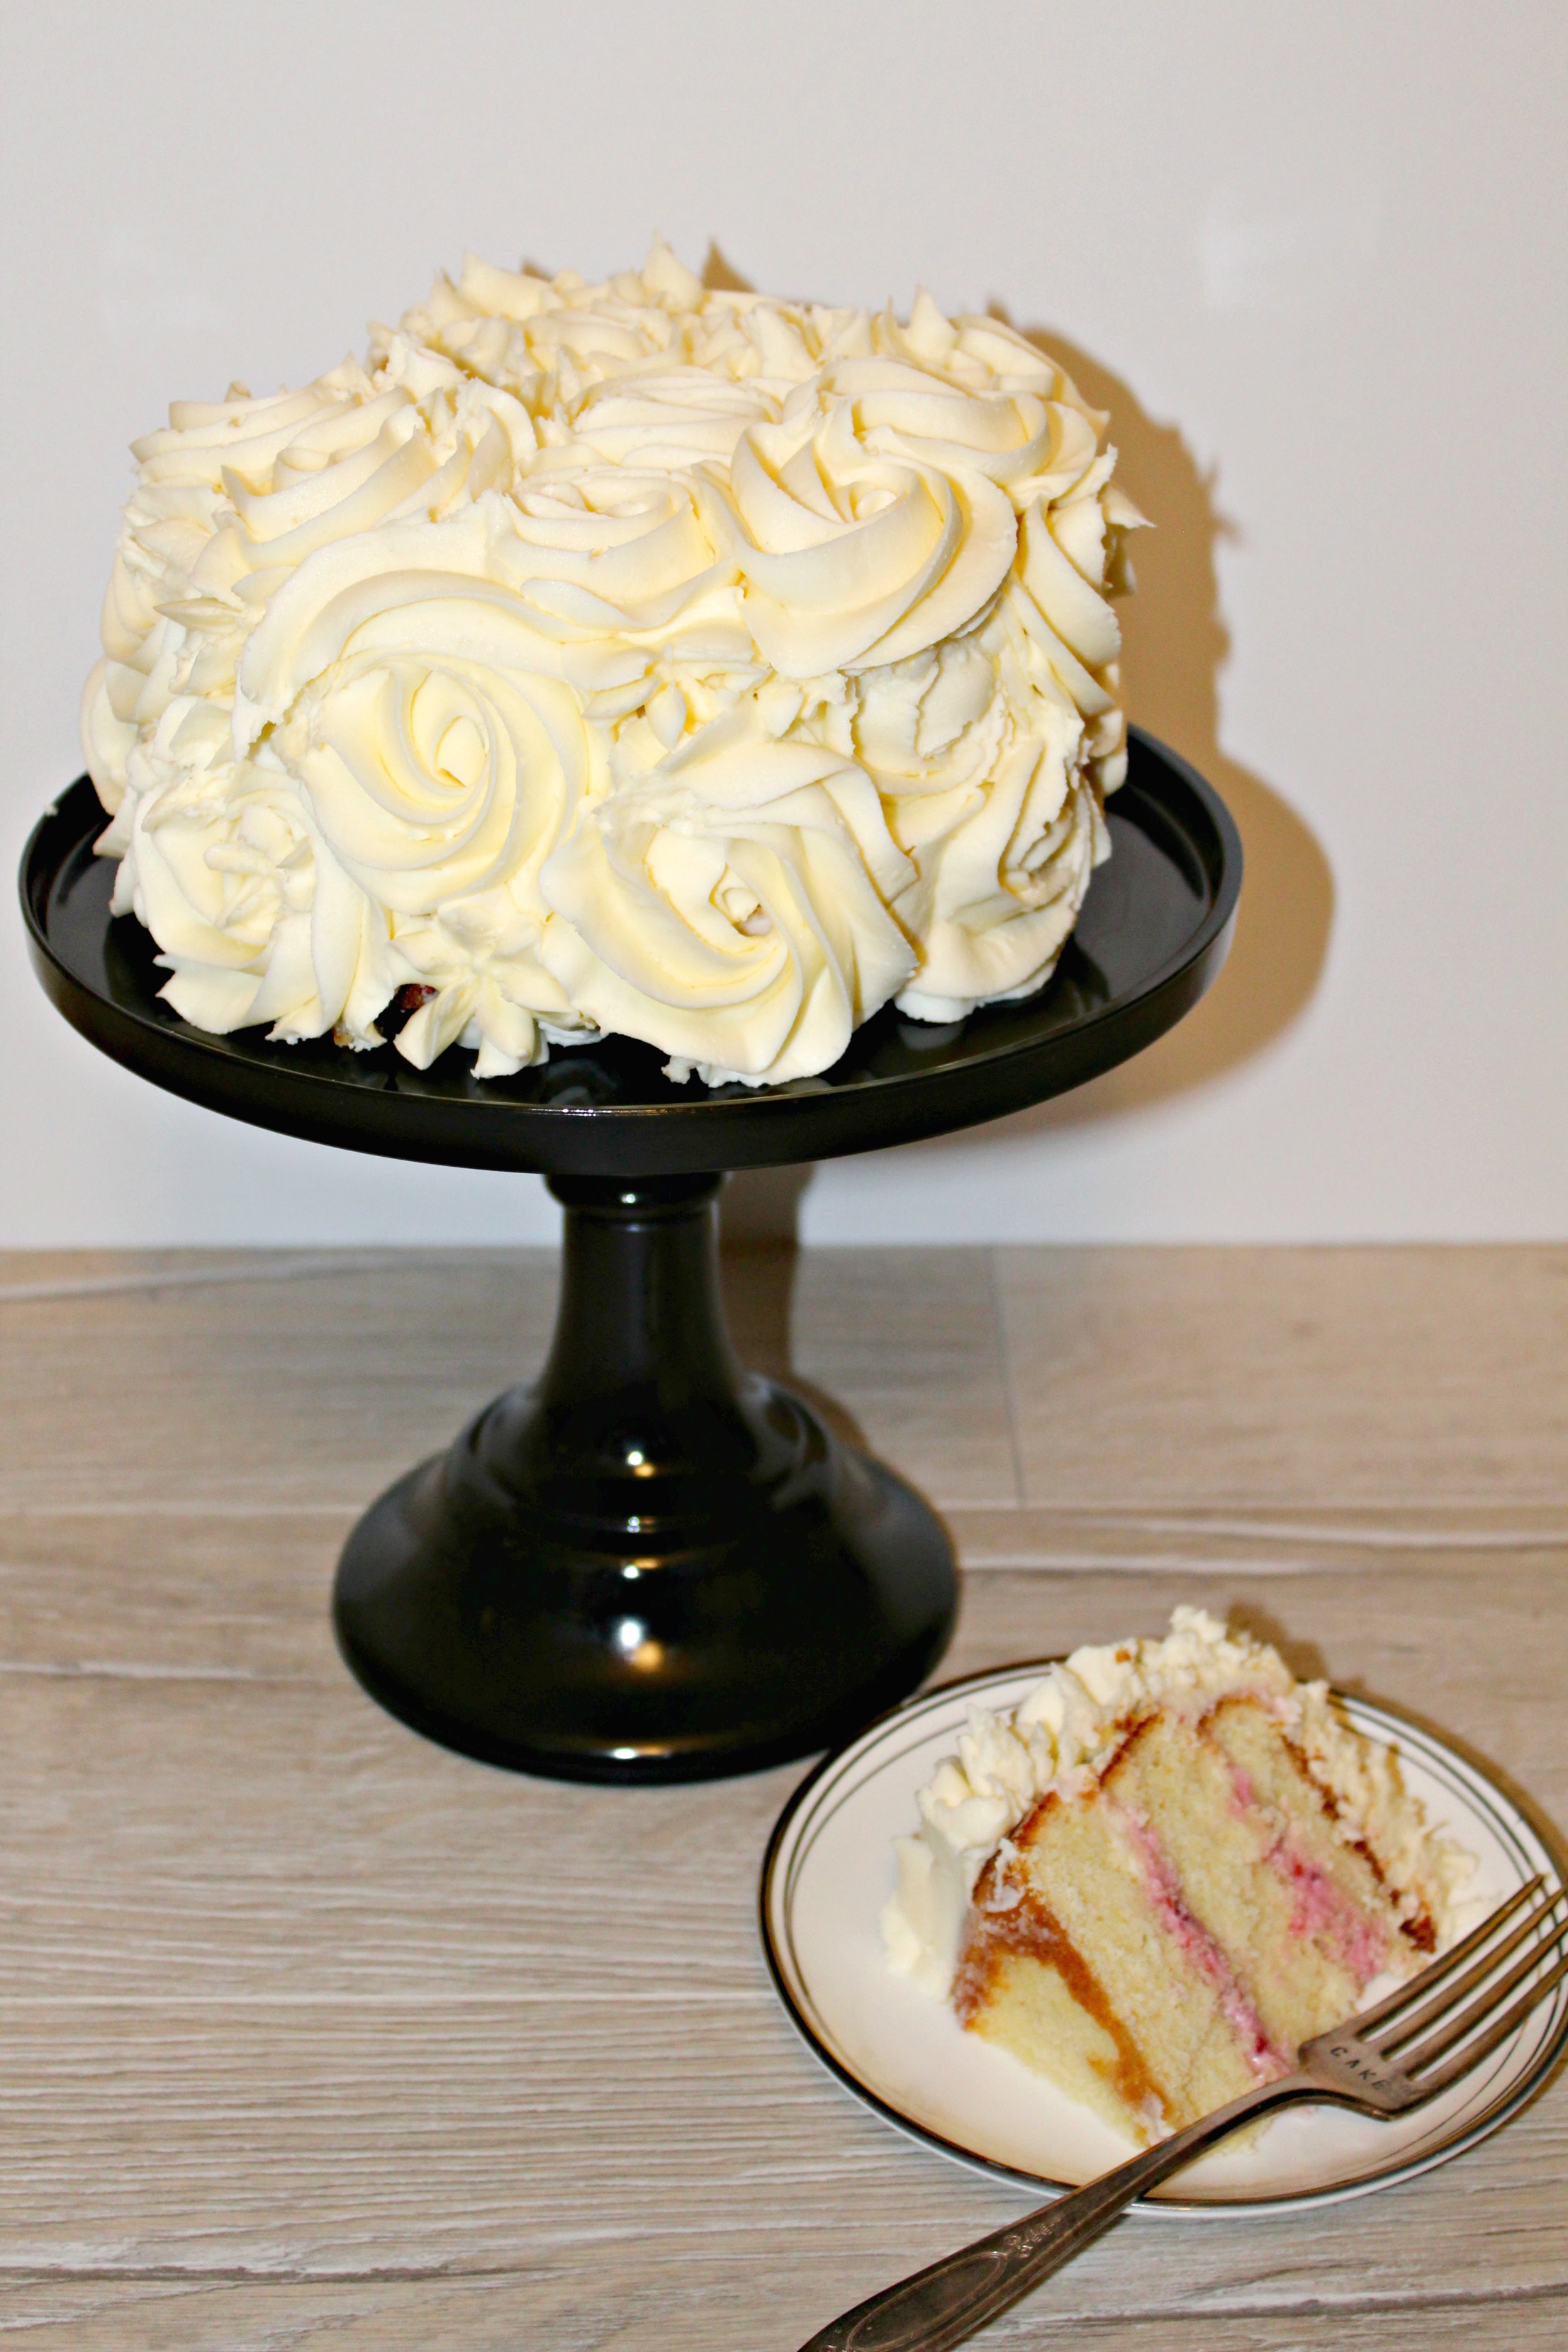
Lemon Cake filled with Raspberry Cream Cheese filling

Do you ever get that feeling where you just need to make a cake? You have a million and a half other things to do but you can't seem to rid that nagging feeling of I just really need to bake this cake. No, just me? I opened my fridge the other day and staring at me was a bag of lemons I had bough from the grocery store and I knew I had to make a lemon cake. It seemed a little bit silly to want to make a Lemon Raspberry cake in the middle of February since I typically associate both flavours with spring or summer but here we are. This cake is bright in flavour and definitely brightens up the dark winter days that we have been having. I think I was drawn to the lemons because I needed some sunshine in my life after days of over cast skies.  

I love the pop of pink that the raspberry cream cheese filling provides in the middle of the cake. It is a nice surprise to cut into the cake and see such a vibrant pink colour. It definitely adds to the cheeriness!  The cream cheese frosting takes this cake to the next level. As you know my cream cheese frosting is very popular. It pairs nicely with both the raspberry and the lemon.  I decided to decorate this cake in a simple rosette design. It is fairly simple to do and creates a stunning looking cake. 

Lemon Cake filled with Raspberry Cream Cheese filling

Lemon Cake

Makes: One 6 inch cake

Lemon Cake filled with Raspberry Cream Cheese filling

Raspberry Filling

Cream Cheese Frosting

Assembling the Cake

  1. Once the cake has cooled completely, torte into 3 layers. Use a small amount of cream cheese frosting to secure the bottom layer to a 8 inch cake board. 
  2. Using an off set spatula spread the raspberry cream cheese filling between each layer. Until cake is fully stacked. Chill cake in fridge for 30 minutes. 
  3. Crumb coat your stacked cake and chill.
  4. Frost with cream cheese buttercream as desired. I used a Wilton 2D tip to create this rosette effect.

Lemon Cake filled with Raspberry Cream Cheese filling

Valentine's Day Heart Sugar Cookies

Simple and sweet, pink and white Valentine’s Day heart sugar cookies video decorating tutorial.
Valentine's day heart sugar cookies video decorating tutorial

I can't believe that Valentine's Day is just around the corner. It is hard to believe that we are already almost in mid February. This year is already flying by! Do you have plans for Valentine's Day? My boyfriend and I typically keep things pretty low key for Valentine's Day. In fact, we hardly ever celebrate it on the actual day. I love the idea of celebrating Valentine’s day with your girlfriends. It has been fun seeing all of the Galentine's Day parties that are popping up on Pinterest & Instagram. Perhaps next year I will plan a Galentine's day brunch for me and my girl friends. How cute would these cookies be on a dessert table?


I kept these sugar cookies fairly simple using a wet on wet icing technique. Which means that I flooded the cookies then immediately added more royal icing on top so it would blend into the flood icing and dry as an even layer. This allows you to swirl or drag the icing creating pretty designs on your cookie. Don’t be afraid to play around with it. Personally, I like the simple designs best with just a line or simple border of hearts. Decorating with royal icing can be frustrating at first, especially if you don’t have the right consistency of icing. It makes all the difference between an enjoyable decorating experience and a frustrating one.  Personally, if my cookies are going to be all one colour, I tend to use the same consistency of frosting for both outlining and filling/flooding my cookies. This means that I don’t have to mix up multiple batches of icing or fill multiple piping bags. I like to use a 10 second icing - when a knife is dragged through the frosting it should take 10 seconds for the line to disappear. This video is a great explanation.

Valentine's Day Heart Sugar Cookies

You'll Need: 

  • Sugar Cookies
  • 10 Second Royal Icing 
  • Pink & Red Gel Colours* 
  • Piping bags, couplers & Tips*
  • Tooth picks 

* I used Wilton Red & Pink Gel Colours and Wilton Tips 2 & 3. 

Valentine's day heart sugar cookies video decorating tutorial

Red Velvet Cupcakes with Cream Cheese Frosting

Crowd pleasing moist red velvet cupcakes with rich and velvety cream cheese frosting

Red Velvet Cupcakes with Cream Cheese Frosting

Red velvet cupcakes are a strange phenomenon. They aren’t quite chocolate but they aren’t vanilla either. That being said, there is just something about them that everyone loves. Red velvet is always a crowd pleaser! The combination of the moist cake paired with rich and creamy cream cheese frosting is hard to resist. These cupcakes are some of my most requested by friends and family. Whenever I am unsure of what to make and I ask for suggestions these are almost always near the top of the list (although these might start to edge out red velvet for most requested). Not only do they taste great but they are a beautiful looking cupcake. I love the deep rich red colour against the pale frosting. Of course like most cupcakes these are best topped with sprinkles. 

Red Velvet Cupcake

In my mind, a red velvet cupcake needs to be two things: 

  1. Deep Red in Colour

  2. Moist

This cupcake definitely hits the nail on the head. To achieve a deep red colour, I used a gel food colouring. I added small amounts of red gel until it reached my desired colour.  Keep in mind, I find that the batter tends to lose its colour as it bakes, so if you want a redder cupcake add more food colouring then you think you need. You can also use liquid food colouring but I find it takes a lot of liquid food colouring to achieve a deep red colour. 

You will notice that these cupcakes use mix of butter, oil and sour milk. This in addition to using cake flour instead of all purpose flour makes for a moist cupcakes. If you do not have cake flour on hand, for every 1 cup of all purpose flour remove 2 tablespoons and replace with 2 table spoons of corn starch. Make sure you sift well to insure the corn starch is evenly distributed. A lot of red velvet recipes call for buttermilk, since I rarely have buttermilk on hand I decided to use sour milk (milk with vinegar added and allowed to sit for 5 minutes or so).  The acidity in the sour milk, along with the additional vinegar in the batter reacts with the baking soda to allow the cupcake to rise. These cupcakes bake up with a lovely little dome. 

Red Velvet Cupcakes with Cream Cheese Frosting

Cream Cheese Frosting

This frosting is everything! I think the real reason most people love red velvet cupcake is because of the cream cheese frosting. One of my best friends tells me it doesn’t matter what I make as long as it has my cream cheese frosting. Red velvet, carrot cake, lemon cake she doesn’t care. It’s all about the frosting. This cream cheese frosting is tangy and sweet. 

Red Velvet Cupcakes with Cream Cheese Frosting

Red Velvet Cupcakes

Makes: 12 cupcakes

Ingredients

1.5 c cake flour

2 tbsp coco powder

1/2 tsp baking soda

1/4 c butter

3/4 c sugar

1 egg

1 tsp vanilla

1/3 c canola oil

1 tsp vinegar

red food colouring

1/2 c sour milk (1/2 c milk + 2 tsp vinegar)

Directions

Preheat oven to 350. Line cupcake pan with liners, set aside.

In a medium bowl sift together dry ingredients: flour, coco powder and baking soda. In the bowl of a stand mixer, fitted with a paddle attachment, on medium speed, beat together butter and sugar until light and fluffy. To the butter and sugar add egg and vanilla. Beat until combined. On low speed, beat in oil, vinegar and food colouring until combined. Add half of the dry ingredient mixture to the wet ingredients alternating with the sour milk until all has been combined.

Evenly divide batter between cupcake liners. Fill each 2/3s full. Bake for 15 minutes or until a toothpick inserted into the centre comes out clean. Transfer cupcakes to a wire rack and let cool completely before frosting.

Cream Cheese Frosting

Ingredients

1/2 c butter, room temperature

8oz cream cheese, room temperature

4 c icing sugar

2 tsp vanilla

1-2 tbsp heavy whipping cream (optional)

Directions

In a stand mixer fitted with a paddle attachment, on medium speed, beat together butter and cream cheese until light and fluffy (3-5 minutes).

Reduce speed to low and add in icing sugar one cup at a time. Mix until combined. Add in vanilla. Whip frosting on medium - high speed until light, fluffy and pale in colour. If you would prefer a thinner frosting, add in whipping cream until desired consistency is reached. Frost cupcakes as desired.

Red Velvet Cupcakes with Cream Cheese Frosting