Buttercream Rosette Cake Tutorial

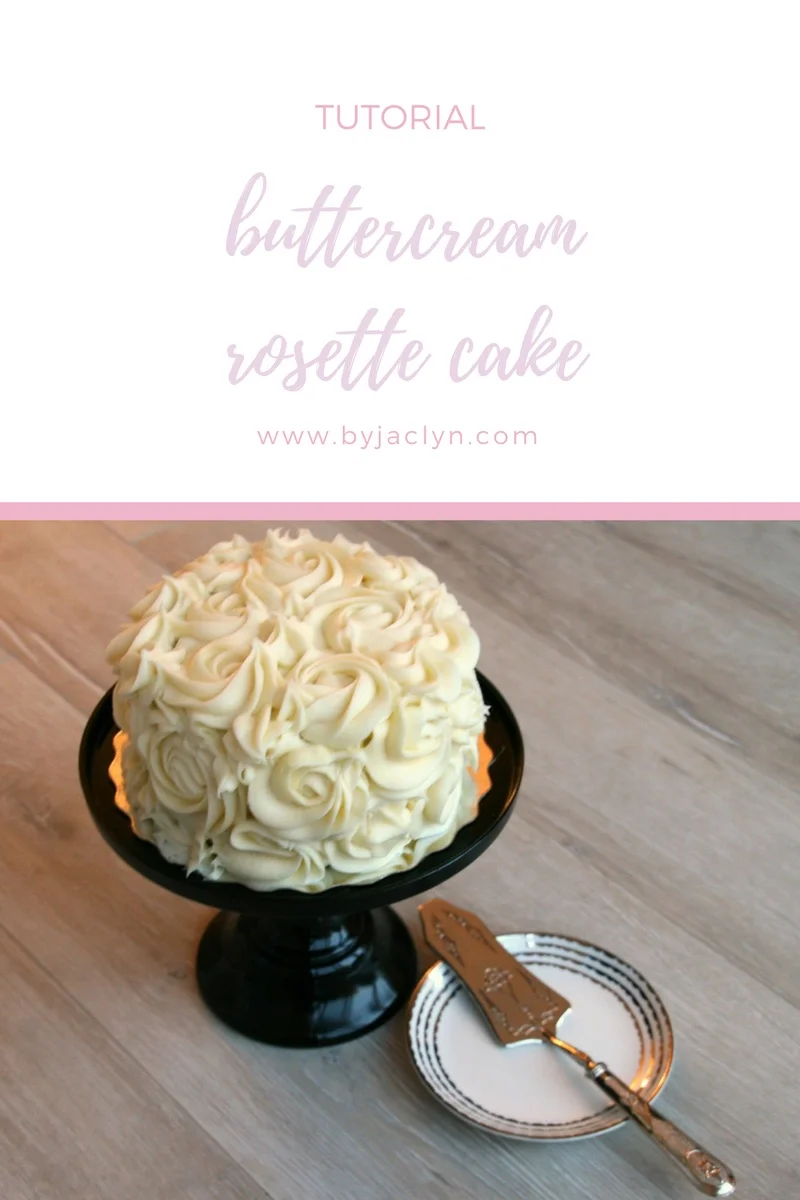
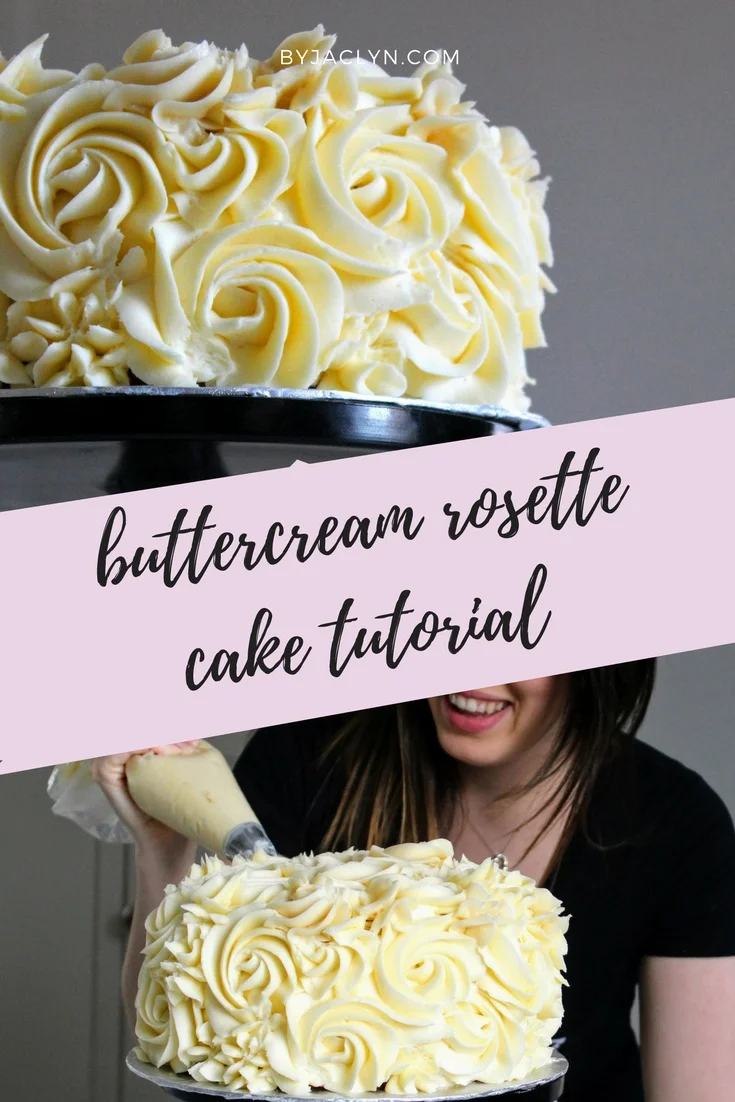
A quick and simple cake decorating tutorial to learn how to make a buttercream rosette cake using just a Wilton 1B decorating tip! 

Learn how to make a buttercream rosette cake using just a Wilton 1B decorating tip!

I have made this rosette cake more times that I can count. It is my go-to decorating technique when I need an elegant yet striking cake design. It looks beautiful on it's own or incorporated into a tiered cake design - like this wedding cake I made for my cousin.  I love that it only uses one decorating tip! This decorating technique is quick, simple and perfect for beginners. 

Tips for making a buttercream Rosette Cake

  • Make sure you have enough icing - these roses use up a lot. For an 8 inch cake - filled, crumb coated and covered in roses you will need 2-3 batches of this buttercream

  • Always ice a cold cake. If you try to ice a cake that is still warm from the oven the icing will just melt right off the cake

  • Add a good crumb coat to your cake before pipping your rosettes. This will lock in any crumbs and create a good base layer of colour for your cake - this is especially important if you are icing a dark cake (like chocolate) with a light colour frosting

  • Chill your cake in between adding the crumb coat and adding the rosettes. This will allow your crumb coat to set up

  • I prefer the look of a taller cake when decorating with rosettes. Go 3 or 4 layers high - trust me :)

  • Create rosettes around the sides of your cake first. Start your rosettes at the bottom of your cake and work your way up to the top

  • When you get near the end of the frosting in your pipping bag, make sure it has enough to complete a rose. It is harder to create the rosettes with a near empty bag (as you can see from my video below - I didn't always take my own advice...)

  • Add swoops or stars to fill in any gaps between roses

How to pipe a rosette? 

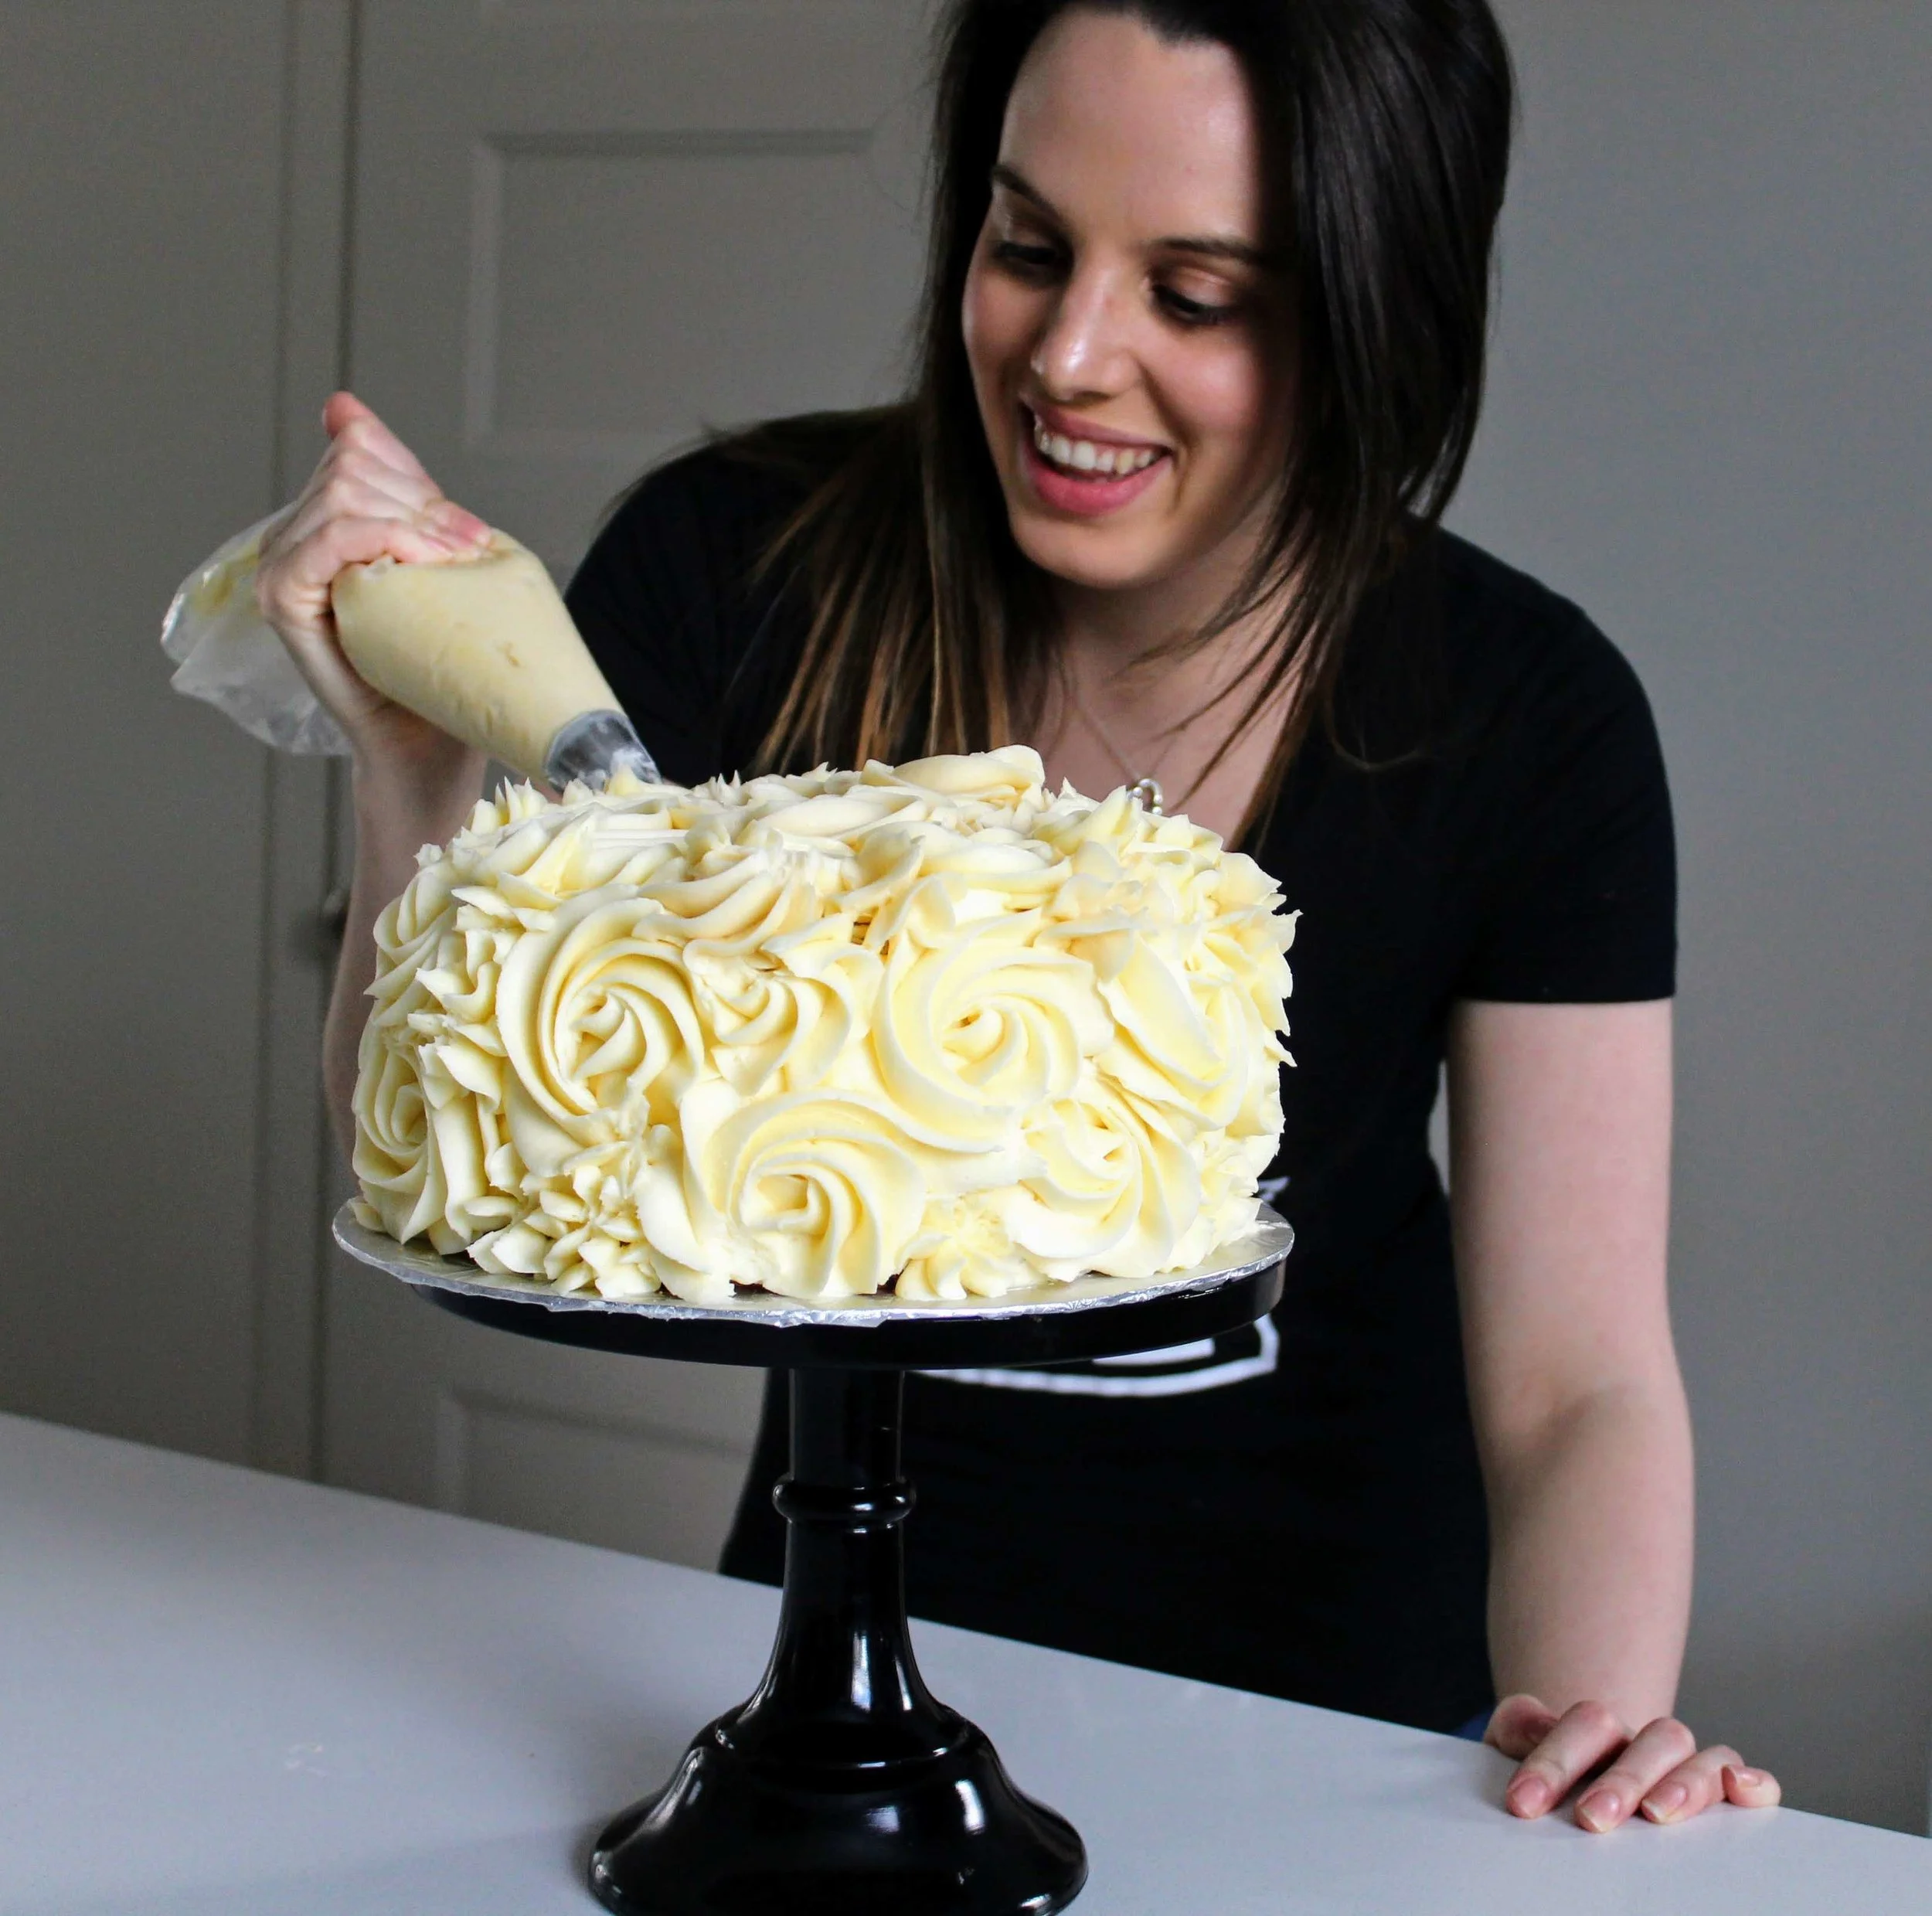
Start in what you want to be the centre of the rosette, and using even pressure slowly create a circle (or swirl) around the centre of the rose in a counter-clockwise direction.

What tip to use for a rosette cake? 

Any large star tip will work for creating a rosette cake. My preference is for the Wilton 1B decorating tip. I have seen other beautiful rosette cakes using the Wilton 1M and 2D tips as well. 


Learn how to make a buttercream rosette cake using just a Wilton 1B decorating tip!

Rosette Buttercream Cake Tutorial


You'll Need 

A 6 or 8 inch cake

Buttercream frosting (2-3 batches)

Pipping bag & tip (1B, 2D or 1M)

Offset spatula

Directions

Start with a 6 or 8 inch layered cake. Using your offset spatual, apply a crumb coat, using the same colour of frosting that you will be making your rosettes out of. It doesn't have to be neat, but it should cover the cake enough to keep all of the crumbs in and so the cake doesn't show through in between any gaps of the rosettes.

Place your decorating tip inside of your pipping bag and fill with your buttercream frosting. Start piping your rosettes on the sides of your cake first, working your way to the top and finishing the with top of your cake. To pipe a rosette: start in what you want to be the centre of the rosette, and using even pressure slowly create a circle (or swirl) around the centre of the rose in a counter-clockwise direction. Fill in any gaps between your rosettes with stars or swirls. 


Learn how to make a buttercream rosette cake using just a Wilton 1B decorating tip!

Ferrero Rocher Cake with Nutella Frosting

A rich moist chocolate cake with a Ferrero Rocher crunch filling and frosted in a decadent smooth Nutella buttercream frosting!

Ferrero Rocher Cake - A rich moist chocolate cake with a Ferrero Rocher crunch filling and frosted in a decadent smooth Nutella buttercream frosting!

Chocolate and hazelnut is one of the best flavour combinations in my opinion. I actually really love hazelnuts (even without chocolate). Give me some hazelnut gelato and I am one happy camper. Add a scope of chocolate to that and I will think I've died and done to heaven.
I grew up eating Nutella. Nutella on toast, Nutella and peanut butter sandwiches, and my personal favourite Nutella cookies. 

This cake is for all you Nutella lovers out there. Or my chocolate and hazelnut fans🙋 (Same thing right?) Ever since the holidays I have been enjoying a single Ferro Roche after dinner. It has become a nightly ritual. I wanted to capture a Ferrero Rocher in cake form. The moist chocolate cake is filled with layers of vanilla buttercream and Ferrero Rocher bits. The Ferrero Rocher bits add a wonderful texture to the cake filling. The whole cake is iced in a delicious, smooth and decadent Nutella frosting.

 
Ferrero Rocher Cake - A rich moist chocolate cake with a Ferrero Rocher crunch filling and frosted in a decadent smooth Nutella buttercream frosting!
 

Ferrero Rocher Cake 

Ingredients

For the Cake

2 c flour 

2 c sugar 

3/4 c cocoa powder 

2 tsp baking powder 

1 tsp salt 

1 c milk 

2 eggs 

1/2 c vegetable oil

1 tsp vanilla

3/4 c hot coffee  

For the Filling

1 c butter, at room temperature 

3 c icing sugar 

1 tsp vanilla 

1 tbsp heavy cream

1/2 c Ferrero Rocherchocolates, chopped 

For the Nutella Frosting

1 c butter, at room temperature 

3 c icing sugar 

1/2 c - 3/4 c Nutella 

Directions

Preheat oven to 350F. Grease & flour two eight inch cake pans, set aside.

In the bowl of a stand mixer, combine flour, sugar, cocoa powder, baking powder and salt. Mix until combined. 

In a medium bowl, whisk together milk, eggs, vegetable oil and vanilla. Add the wet ingredients to the dry and mix on medium speed until just combined. Carefully, add the hot coffee to the batter and mix until combined. 

Evenly divide the batter between the two prepared cake pans. Bake  for 30 - 35 minutes or until toothpick inserted into the centre comes out clean.

Allow the cakes to cool in the pans for 10 minutes before transferring to a wire rack to cool completely. 

To make the filling, in the bowl of a stand mixer, fitted with a paddle attachment beat the butter on medium-high speed until light and fluffy.  Beat in the icing sugar until light and fluffy. Beat in the vanilla and heavy cream. Stir in the Ferrero Rocher Chocolates. 

To make the Nutella Frosting, in in the bowl of a stand mixer, fitted with a paddle attachment beat the butter on medium-high speed until light and fluffy.  Beat in the Nutella until just combined.

Assembling the Cake -  If desired, torte each cake layer, so you have a total of 4 cake layers. Use a dab of frosting to adhere the bottom cake layer to your cake board. Top cake layer with Ferrero Rocher filling, place cake layer on top. Repeat with additional cake layers, ending with your final cake layer. Place filled cake in fridge for 20-30 minutes to set up before crumb coating. 

Coat cake in a thin layer of Nutella frosting to create a crumb coating. Place coated cake in the fridge for 20-30 minutes to allow the crumb coat to set up. 

Frost cake as desired. I used a Patterned Side Scrapper to achieve the design on the cake. I topped the cake with extra Ferrero RocherChocolates and extra frosting, using a Wilton 1M tip.

 
Ferrero Rocher Cake - A rich moist chocolate cake with a Ferrero Rocher crunch filling and frosted in a decadent smooth Nutella buttercream frosting!

Apple Pie Cheesecake

When apple pie meets cheesecake you get this decadent dessert. Why choose one when you can have both?

Apple Pie Cheesecake

I warned you the apple recipes were coming. I know you shouldn't play favourites but you guys if you make one thing from this blog let it be this. Seriously I think it is one of the best things I have ever made. A pain to photograph - oh why can't everything I make be as photogenic as a cupcake? But seriously delicious. Everyone who was lucky enough to try this delicious masterpiece commented even days after the fact that it was the best cheesecake they've ever had. It is that good. I mean when you are combining two delicious desserts - apple pie and cheesecake - its hard not to come up with something delicious. 

This cheesecake is a bit of a labour of love. I love the look of a beautiful intricate lattice pie crust - but you can omit this if you are short of time or cannot be bothered. The cheesecake will still be as delicious.  In order to truly capture the essence of apple pie, I used pie dough as my cheesecake crust rather than a traditional graham cracker crumb. I used a homemade pie crust but feel free to use your favourite store bought brand as well.  To develop the apple pie flavour I cooked my apples slightly on the stove first before layering them with the cheesecake in the oven. Since the apples are being topped with the cheesecake mixture they won't cook the same way they do in a traditional apple pie. 

Apple Pie Cheesecake

Apple Pie Cheesecake 

Makes: One 8 inch round cheesecake


Directions 

In a medium bowl toss together all of the ingredients for the apple filling, except the butter. In a medium sized sauce pan over medium heat, melt the butter and add the apple filling. Simmer until the apples have softened, about 5 minutes.

In the bowl of a stand mixer, cream together cream cheese, greek yogurt and sugar until well combined. Mix in the flour and vanilla. Add the eggs one at a time, scrapping down the bowl after each addition. 

Preheat oven to 325F. Roll out your pie crust into a circle approximately 11 inches in diameter.  Press into the bottom of of a spring form pan with 1-2 inches of crust coming up onto the sides of the spring form pan. Spread half of your apple filling mixture on top of the crust. Pour the cream cheese cake filling on top. Bake for an hour to an hour and 10 minutes or until cheese cake is set.

Allow cheesecake to cool. Top with the remainder of your apple filling mixture and decorate with a lattice pie crust top if desired. 

To make the lattice crust - create crust design as desired and bake according to directions based on the crust recipe you've used or until golden brown. Place on top of cheese cake after baking.

Ingredients

For the Apple Filling: 

8 medium apples, peeled and sliced 

1/2 c sugar 

1/2 c brown sugar 

2 tsp cinnamon 

2 tbsp flour 

2 tbsp lemon juice 

1/4 c butter

For the cheese cake:

Single pie crust, double if you'd like to create decorations

2 1/2packages (625g) of cream cheese, softened

1/2 c greek yogurt 

1/2 c sugar 

1 tbsp flour 

1 tsp vanilla 

3 eggs, at room temperature


Apple Pie Cheesecake